The short answer.
Wet the oats evenly and leave room in each jar for stirring.
Taste the base and the yogurt-topped version separately.
Adjust sweetness at serving time rather than guessing overnight.
The idea
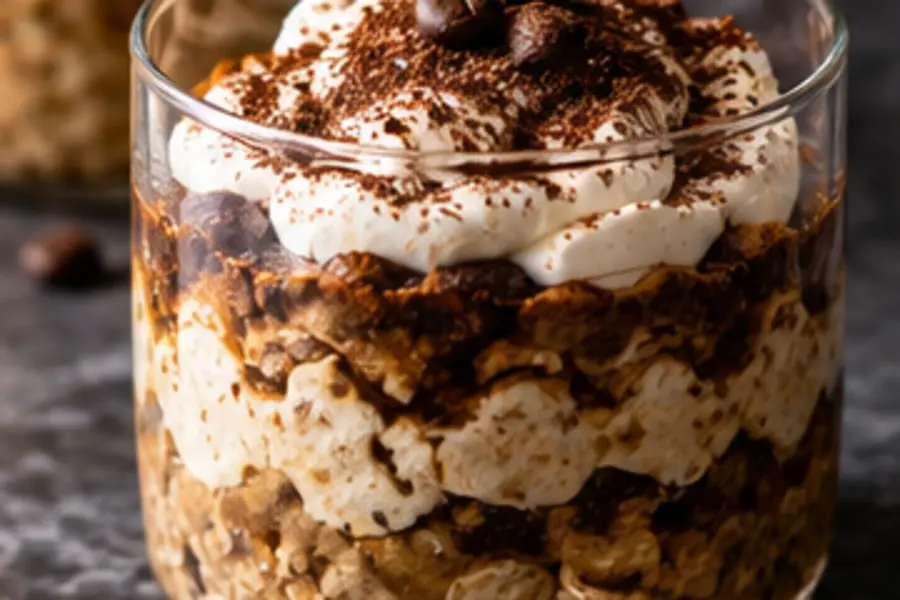
This coffee-soaked oat cup takes inspiration from layered coffee desserts while staying simple enough to stir together in a jar. Rolled oats absorb a mixture of milk and coffee, then a spoonful of yogurt and cocoa finish the top. It is deliberately presented as a coffee dessert rather than a promise about nutrition.
Use rolled oats, not steel-cut oats, because the texture and soaking behavior are different. Quick oats will become softer and less distinct. A small transparent jar makes the layers visible, but an ordinary covered bowl works just as well.
Ingredients and yield
- Yield: two small cups; allow an overnight refrigerator rest
- 70 g rolled oats
- 120 ml milk or oat drink
- 60 ml brewed coffee, cooled
- 2 teaspoons maple syrup
- 1/4 teaspoon vanilla extract
- 100 g thick plain yogurt
- 1 teaspoon cocoa powder

Make it
Mix the cooled coffee, milk, maple syrup, and vanilla in a bowl. Add the oats and stir until every flake is wet. Divide the mixture between two covered jars or bowls and refrigerate overnight. Leave enough space above the oats for the yogurt topping and for stirring before serving.
The next day, stir each oat portion and assess the texture. Add a small splash of milk if it is firmer than you like. Spoon the yogurt over the top and dust lightly with cocoa. Serve chilled with a spoon that reaches the bottom so the coffee oats and yogurt can be combined in each bite.
Make it your own
For more distinct layers, keep the yogurt separate until serving. If you stir everything together the night before, the flavor will be more uniform and the topping less visible. Neither method changes the basic ingredients, so choose based on the texture you enjoy.
To make the cup sweeter, add syrup in small increments at serving time. To strengthen the coffee flavor in a future batch, replace part of the milk with additional cooled coffee while keeping the total liquid similar. Keep all dairy or plant products refrigerated as directed and store the covered oat cups cold. Use ingredients whose labels fit any dietary requirements, including the oats if that matters for your household. Brew the coffee independently and add it only after cooling; oats, vanilla, and milk should never be placed in a coffee machine reservoir. A few toasted oats added at the table can supply contrast if you want a little crunch.

Make the overnight texture predictable
The starting mixture should wet every oat flake, including those caught against the bowl. Stir before dividing it into jars, then leave room for a final stir the next day. A jar filled to its rim makes an easy recipe unnecessarily awkward. The overnight rest is part of the method; assess the oats in the morning before deciding whether they need a small splash of additional milk.
Keep the yogurt topping separate when testing your preferred coffee strength. Taste a spoonful of the soaked oats alone, then a spoonful with yogurt. If the oats are balanced but the combined dessert tastes too mild, change the topping amount before increasing coffee across the entire recipe. This separates a layering preference from a change in the base mixture.
For a pair of different preferences, prepare one plain oat base and let each person add syrup at serving time. A little cocoa on top provides a clear visual cue that this is a coffee dessert rather than an ordinary breakfast jar. Record which oats you used: changing the product can change the texture, even when your liquid measurements stay identical.
Useful answers, before you decide.
Can I warm the finished oats?
The recipe is designed to be served chilled with a cool yogurt topping. If you prefer warm oats, treat that as a separate preparation and keep the yogurt and finishing ingredients apart until serving.
Why are the oats firmer than I expected?
Check the oat type, measured liquid and resting time. Stir after the overnight rest, then add a little milk to the serving if needed. Avoid changing the whole formula before assessing the completed texture.
 Recipes · 4 min
 Recipes · 4 min
 Recipes · 4 min